Tap4Go Device Instructions
Follow the steps below to activate your tag and set up your page.
Step 1
Check NFC on your smartphone
Make sure your smartphone supports NFC and that NFC is enabled in the settings.
Android: go to Settings and search for “NFC”.
iPhone: on compatible iPhones, NFC is generally already available.
Step 2
Hold the tag near your phone
Bring the tag close to your phone’s NFC area: on iPhone, this is usually the upper part near the camera; on Android, it is usually the center or upper part of the back. Hold the tag very close, and if it is not detected immediately, move it slightly.

Step 3
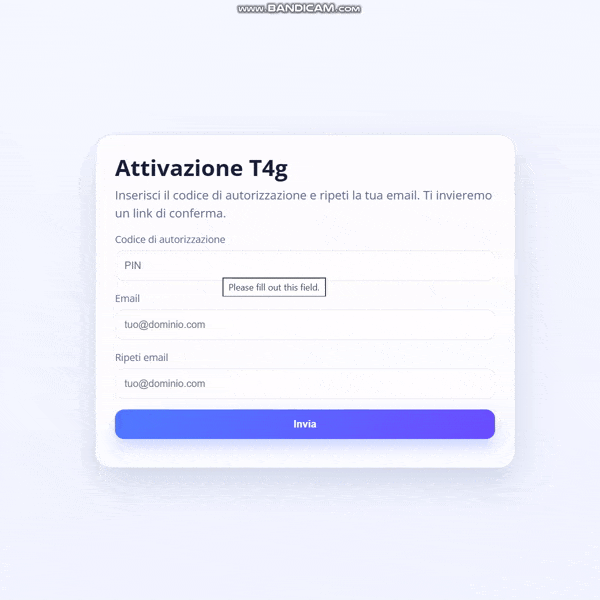
Open the activation form
A push notification will appear on the screen. Tap it. In some cases, the website with the activation form may open automatically.
Step 4
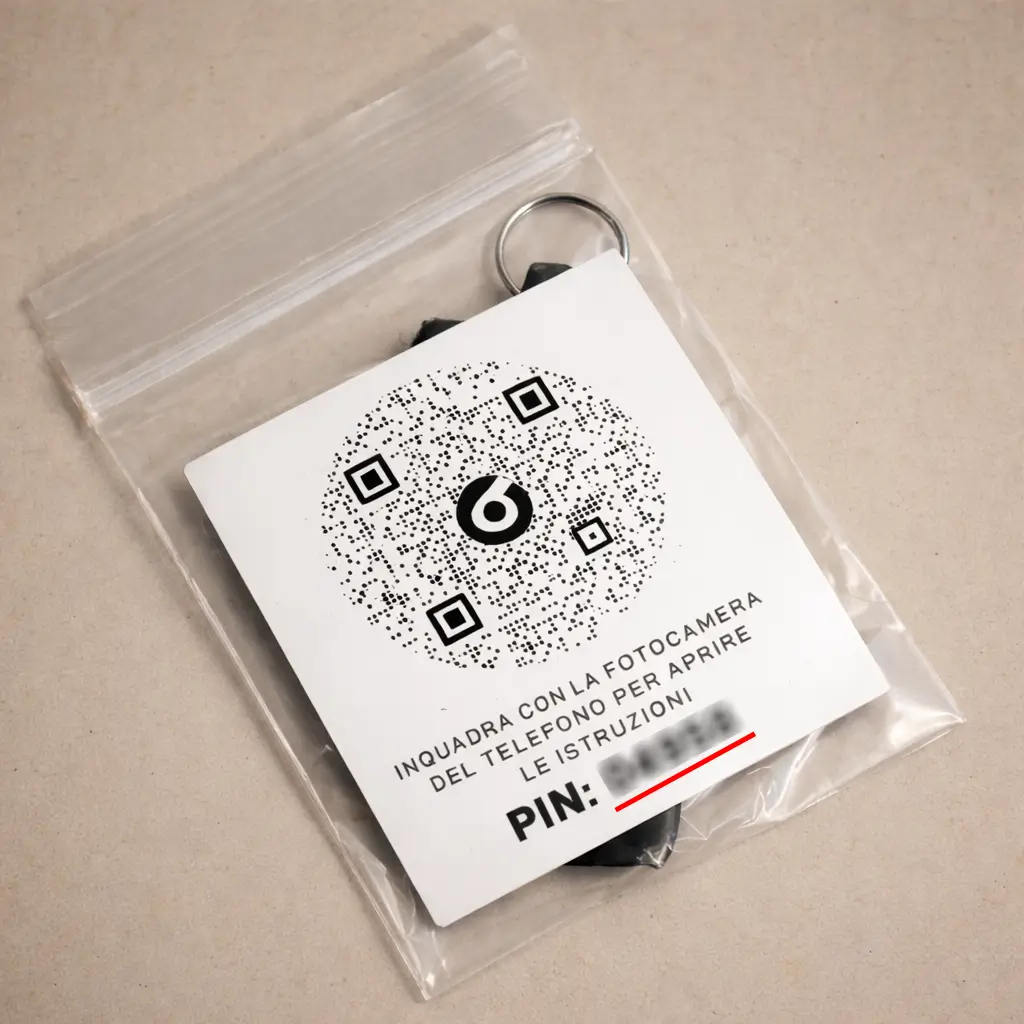
Enter the PIN code
In the activation form, enter the PIN code shown on the sticker with the Tap4Go logo.
Step 5
Enter your email address
In the Email field, carefully enter the email address you want to link to your Tap4Go account. If you already have an account, enter the email address associated with your existing account.
Step 6
Confirm activation from your email
After submitting the form, you will receive an email with an activation link. If you do not see the email in your inbox, check your Spam folder. You can also search for the sender: info@tap4go.com.
Step 7
Create your password
Open the link in the email and create a password for your account.
Step 8
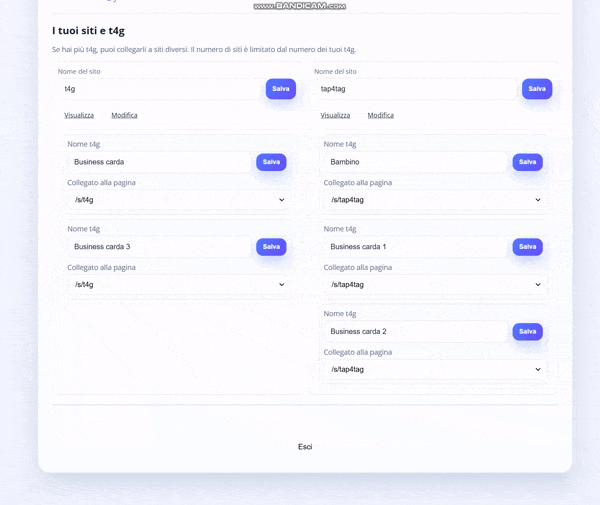
Manage Sites and Tags
After logging in, you will be able to manage your available Sites and Tags.
Step 9
Link Tags to Sites
You can link Tags to different Sites and change this association at any time.

Step 10
Available Sites
The number of available Sites depends on the number of Tags activated on your account.
Step 11
Rename Sites and Tags
You can change the name of both your Sites and your Tags.
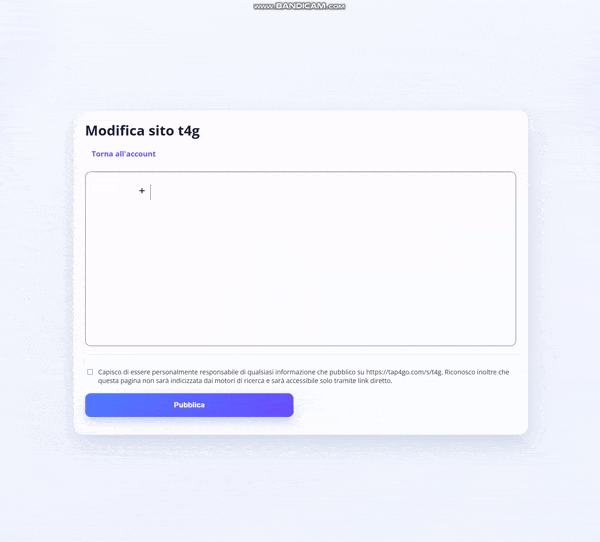
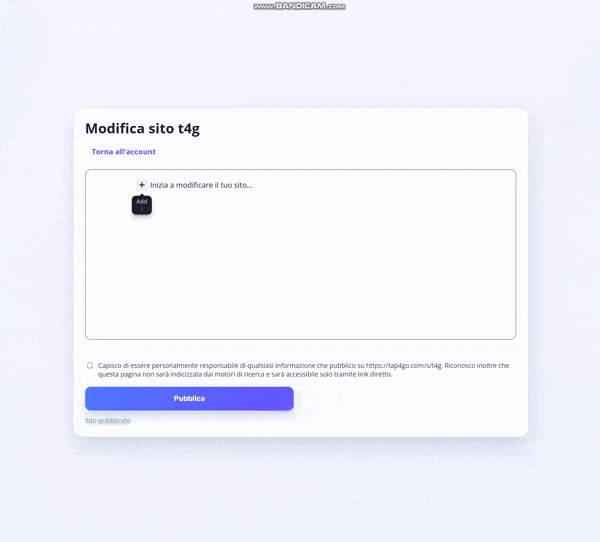
Step 12
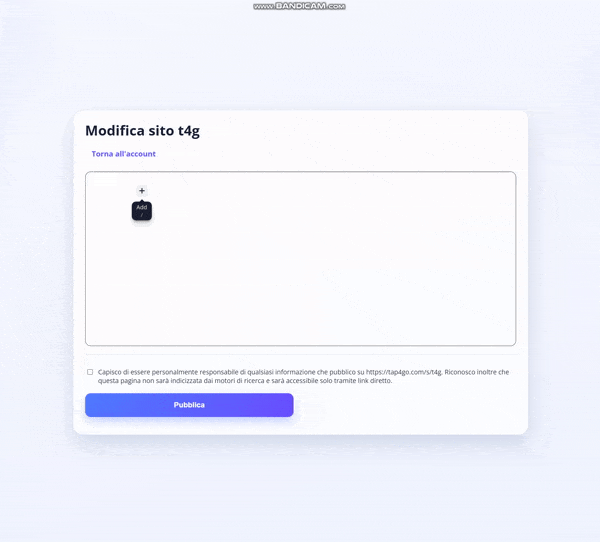
Open the Site editor
To edit a Site, click the “Edit” button.
Step 13
Add content in the editor
In the editor, you can freely add text, headings, and lists.
Step 14
Choose a card
Only one card can be added to a Site at a time:
My Contact Details
A card for sharing your personal information. You can add social media links, contact details, a photo, choose a background, and customize other elements. The order of social links can be arranged however you like.
Emergency / ICE
A card for emergency information. You can fill in important medical details, add an emergency contact, include WhatsApp for quick communication, and customize the background and other settings.
Emergency (Pet)
A card for your pet’s emergency information. You can add important medical details, the owner’s contact information, WhatsApp for communication, upload a photo of your pet, choose a background, and fill in other useful fields.
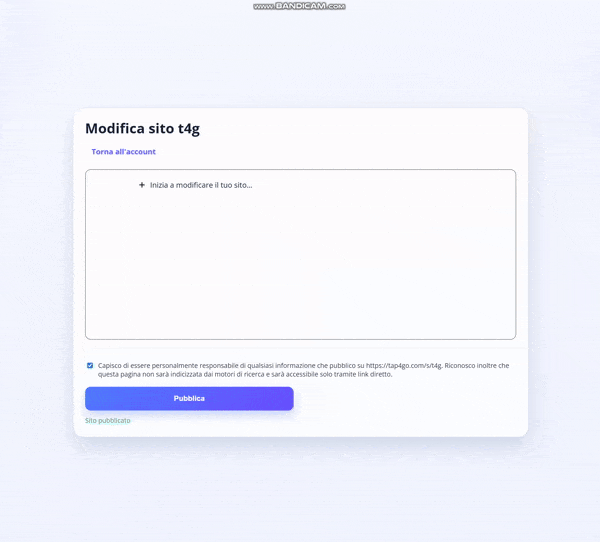
Step 15
Check the page preview
After publishing the page, you can open it in the browser and check how it looks.
Step 16
Bring the tag close again
Now bring the tag close to your phone again, and the page you configured will open.
If you have any other questions, contact us at info@tap4go.com.